How to create a feature wall using floating shelving
One of the best home décor trends of the last few years, floating shelving has been appearing in homes across the UK in myriad styles and colours.
In 2020, we’ve seen a new and creative way of not just increasing storage space using this clever type of shelving, but also using it to provide an attractive and highly visual feature that’s suitable for any room in the house.
With many new homes now foregoing the traditional fireplace, having a focal point for the room has become even easier thanks to floating shelves. Easy to install and gentle on the bank balance, here are a few tips that show just how easy creating your own ‘floating feature’ can be!
Choose your floating shelves carefully

Before you get started, it’s essential that you select the best quality floating shelves that your bank balance will allow.
Many of the cheaper kits use lower grade wood and poor quality fixtures that can lose visual appeal or become loose over time, so opt for a floating shelving kit that comes with a guarantee. You’ll be able to rest assured that you’ve picked something that is built to last and will look the part for years to come.
Measure, plan and measure again
The key to creating a floating feature wall that works in your space is all down to preparation.
Using a piece of paper, draw a simple plan of how you want your floating shelving to be arranged before you even think about reaching for your drill to mount them to your chosen wall.
This plan will enable you to try out new ‘designs’ without you having to patch up holes and start all over again.
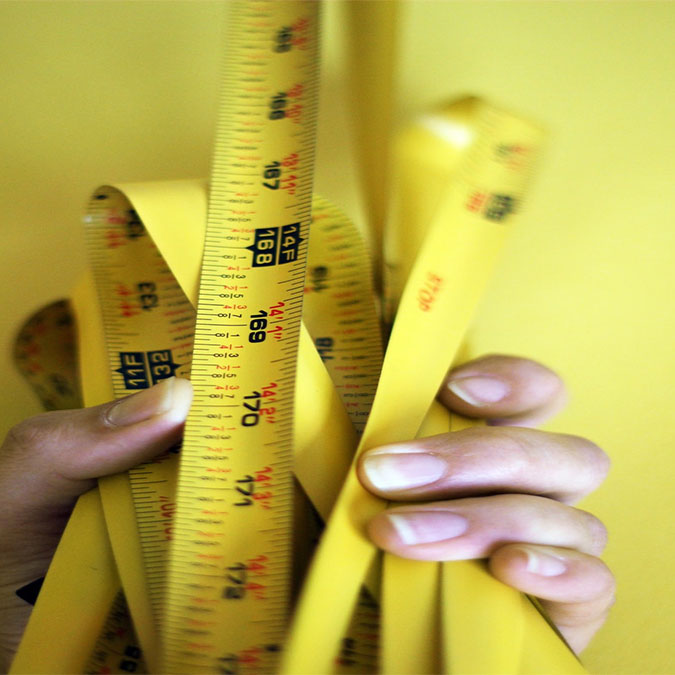
It’s also a good idea to measure your wall space a few times to ensure that your measurements are correct and that you are allowing enough space between the floating shelves.

Think about Your Ornaments

Once you’ve got your final design drawn out and all measurements are correct, just take a moment to consider which of your ornaments and accessories will be adorning your new focal point.
Take into account the height of photo frames and vases as well as the width of anything that you want to include as this will help you to make the biggest impact with your display and ensure that you have the right amount of space.
Once that’s been done, you’re free to follow the simple instructions on how to mount your floating shelves and get started marking out the places to drill on your wall.
